Shape path trim animation example
The finished renderings:
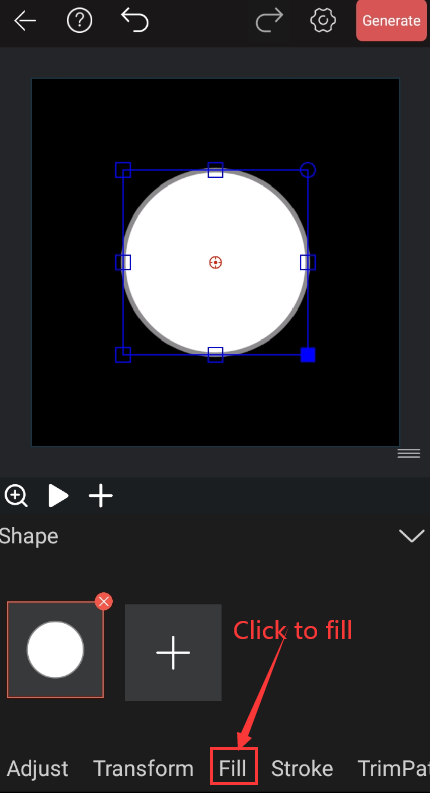
Open the software, first we create a shape figure.
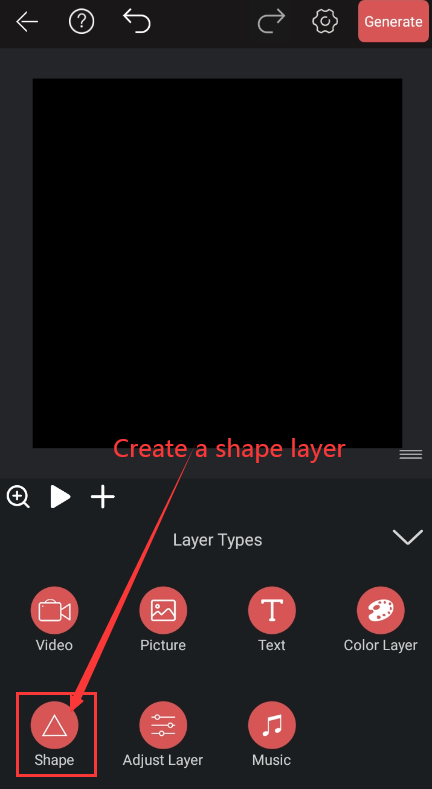
For convenience, I chose to add a circle in the default shape as an example.
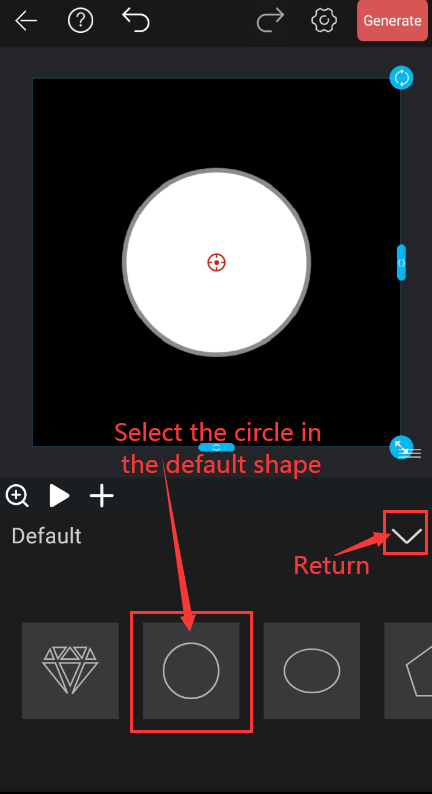
Click the shape of the toolbar below to further edit the circle.
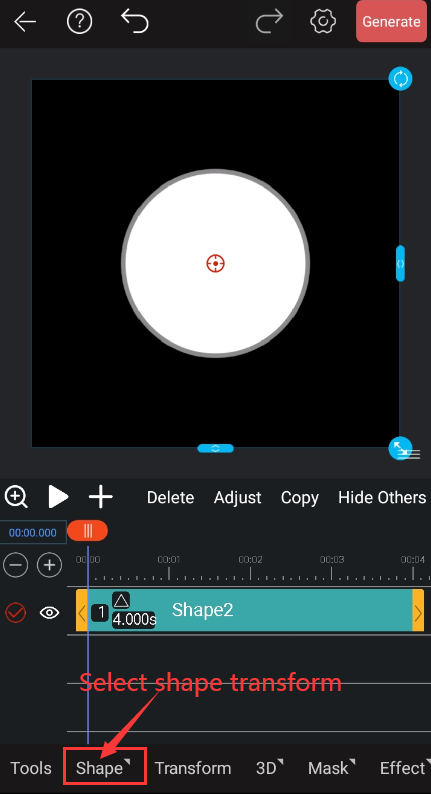
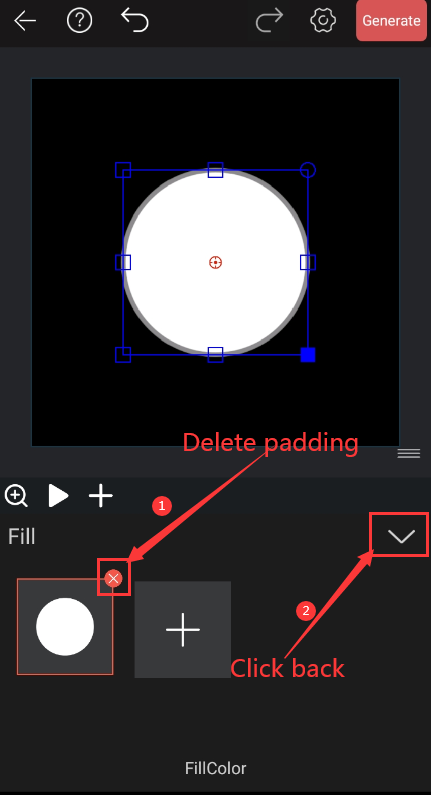
Because we are explaining the shape path transformation, we first click on the fill to delete the fill.
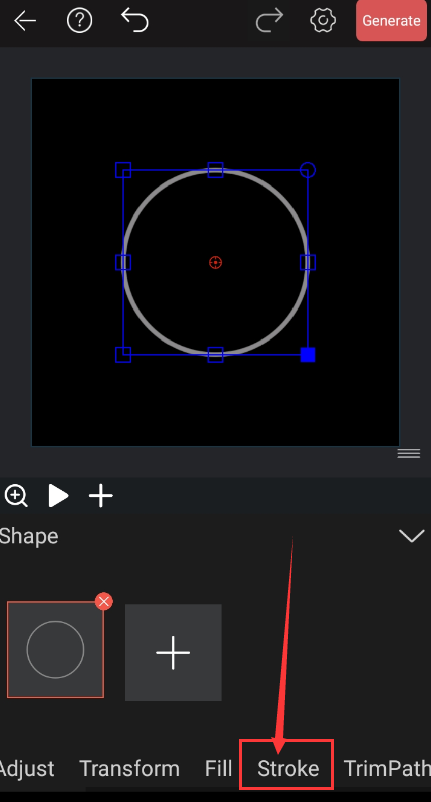
Then we click the stroke a few times and set the color and width of the circle.
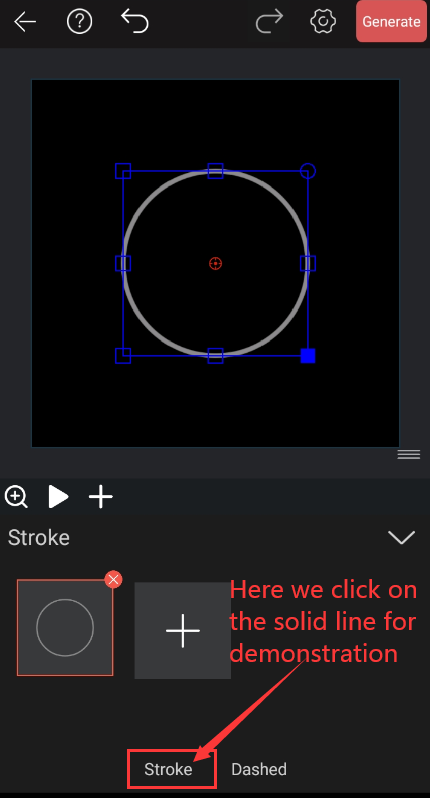
We adjust the color of the circle, here I set the circle stroke to red, width 25.
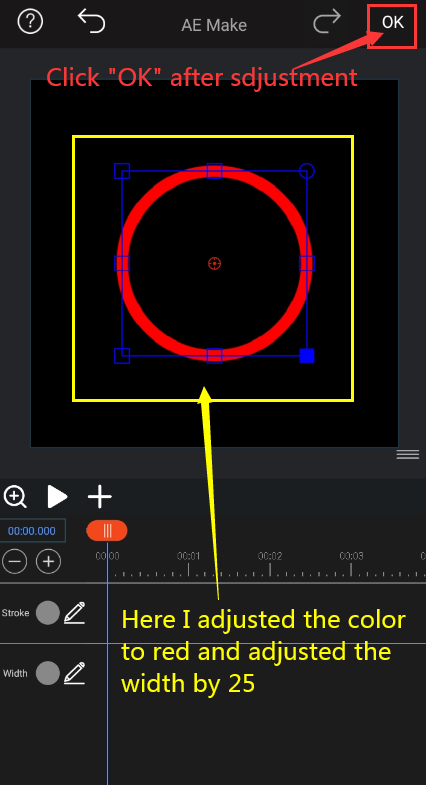
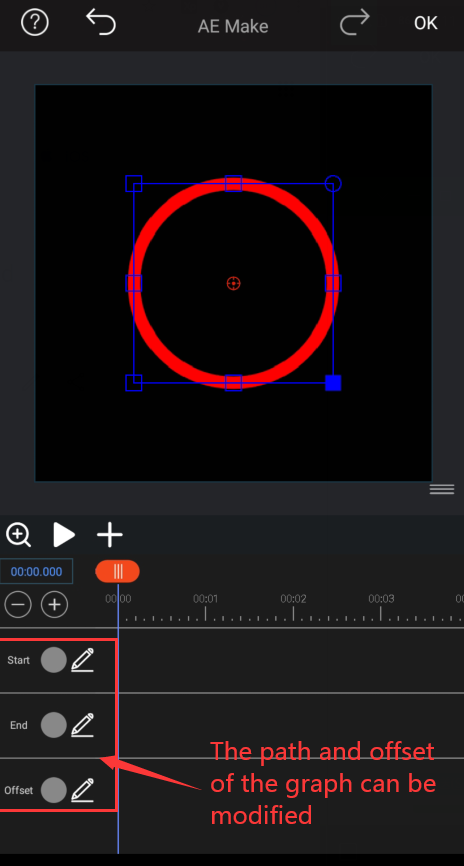
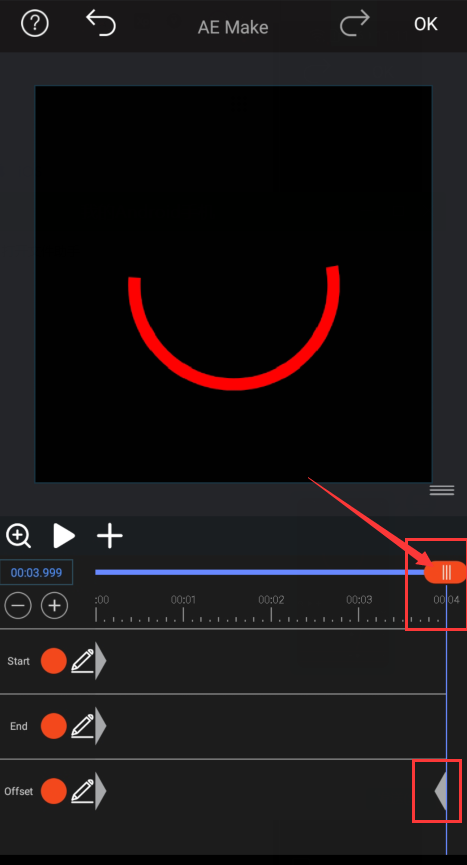
After clicking back we go into the text and click on the path offset.

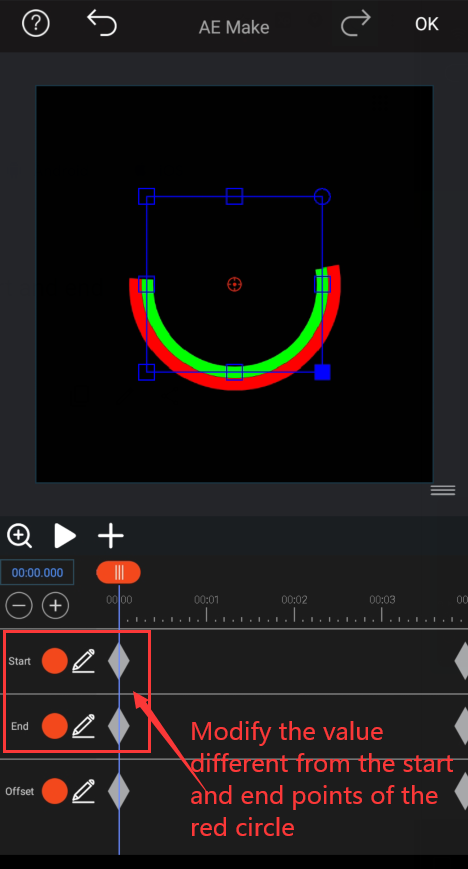
There are three attributes of path offset: start point, end point and offset. We first drag the time hand to 0s, click the start and end pen buttons to modify the value we want.
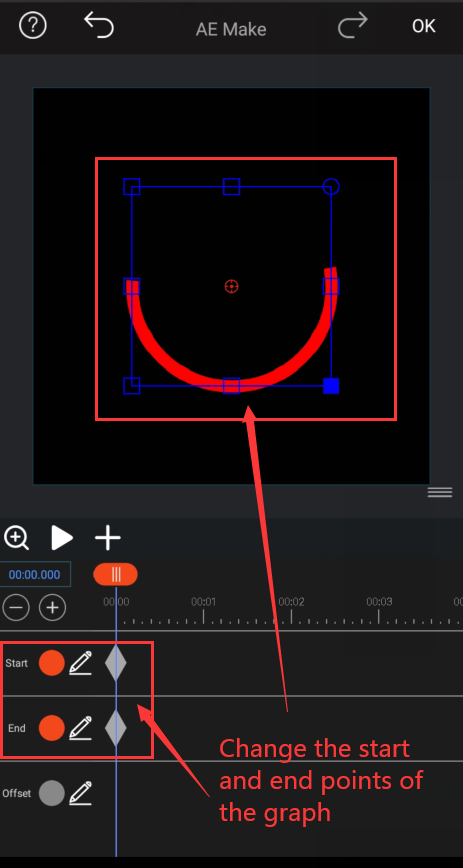
Then we click Offset and set 90 °, we can see that the actual path length is rotated by 90 °.
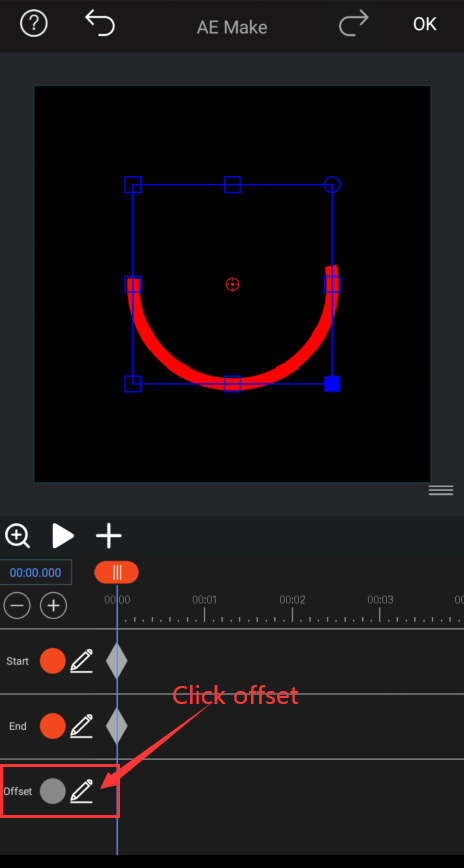

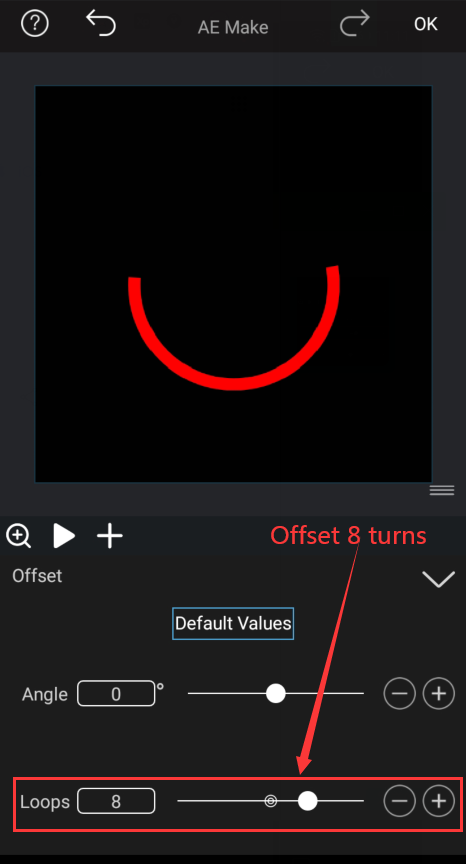
So what is the effect of animating the path offset?Here we first modify the offset of the key frame to 0, and then drag the hour hand to 4s to set the offset to 8 circles, so that it is easier to see the effect.
Similarly, we return the original starting point and ending point to the original position at 4s.
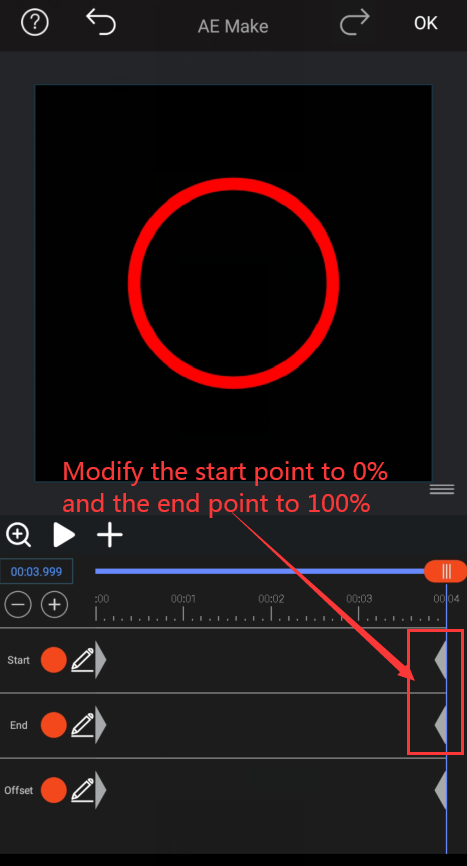
Let's preview the effect at this time:
This is the effect of a circle. Click the "OK" button to return to the interface and copy the circle.
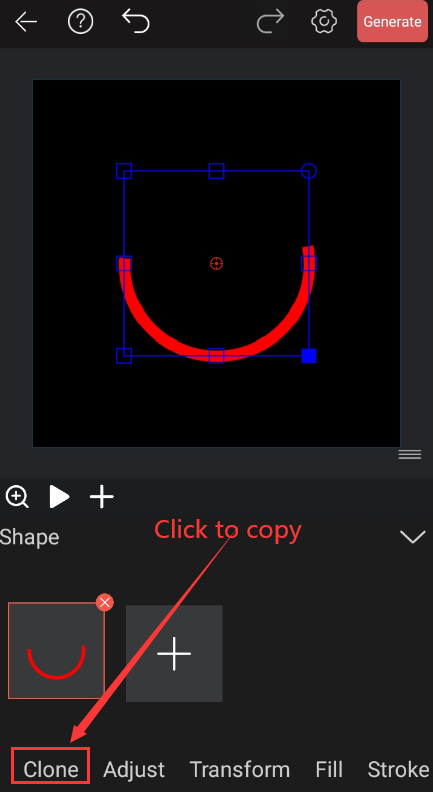
The size and shape of the copied circle and the red circle are exactly the same. To distinguish between, we first select the stroke button to change the color to green, and then click the adjustment button to change the size of the circle.
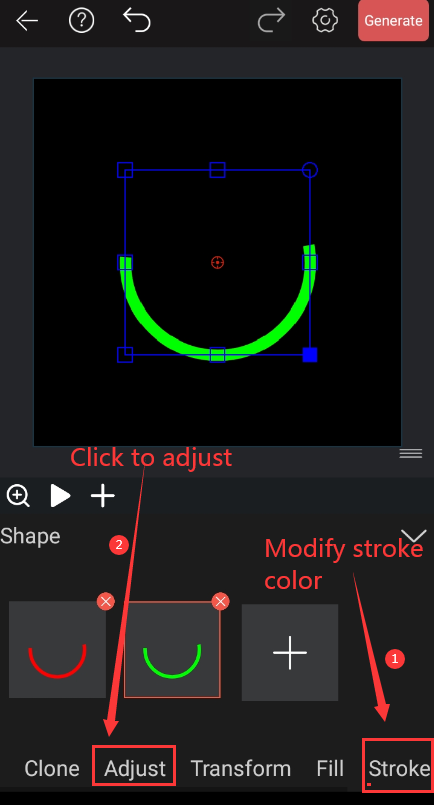
After clicking to adjust, we click the zoom button to shrink the circle so that the green circle is close to the size of the red circle.
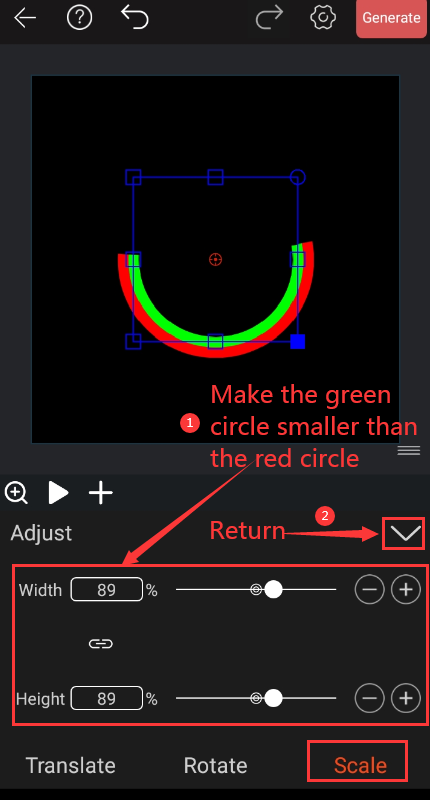
After adjustment, we click the path offset button again.
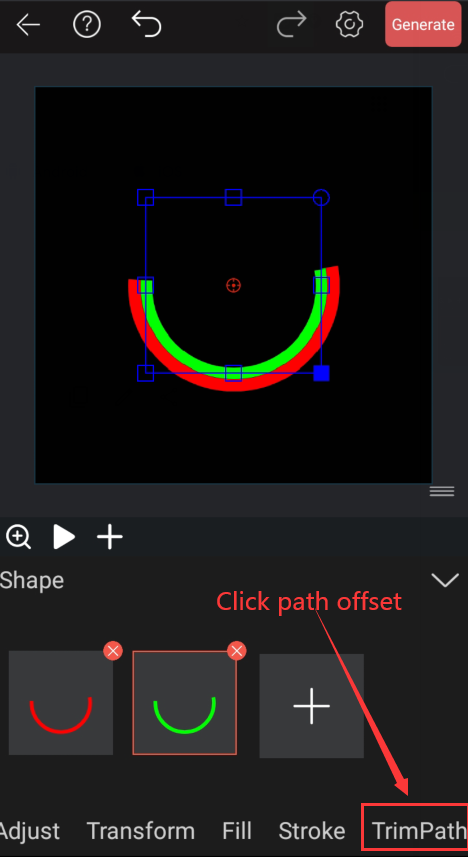
Because the red circle is copied, the key frames are exactly the same as the red circle. At this time, we only need to modify the start point and end point at 0s of the green circle to make it different from the red circle.
In this way, we will make two circles, repeat the above steps, and then we will make a yellow and blue circle.
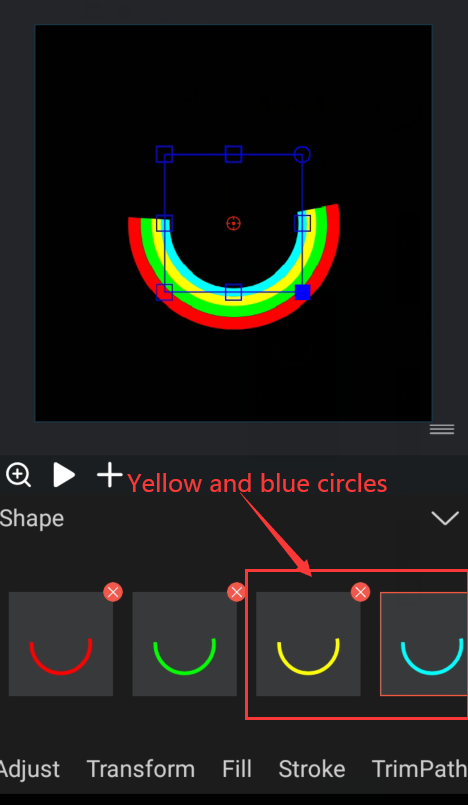
You can get the picture effect at the beginning of the article.